Homebrew で WezTerm をインストールする
Windows や macOS、Linux などのクロスプラットフォームで利用出来るターミナルエミュレータに Wez's Terminal Emulator があります。 通称「WezTerm」は Rust で書かれているそうです。 今回は Homebrew を使って macOS へ WezTerm をインストールする手順をメモしておきます。
WezTerm は OSS として GitHub で公開されており、リポジトリは Wez's Terminal にあります。 また、初期状態のショートカットキーは Default Key Assignments に掲載されています。
検証環境
| 対象 | バージョン |
|---|---|
| macOS | 15.1.1 |
インストール
Homebrew では安定版と Nightly Build が提供されているようです。 今回は安定版をインストールします。
現時点の安定版は 20240203-110809 でした。
~$ brew info wezterm
==> wezterm: 20240203-110809,5046fc22
https://wezfurlong.org/wezterm/
Not installed
From: https://github.com/Homebrew/homebrew-cask/blob/HEAD/Casks/w/wezterm.rb
==> Name
WezTerm
==> Description
GPU-accelerated cross-platform terminal emulator and multiplexer
==> Artifacts
WezTerm.app (App)
/Applications/WezTerm.app/Contents/MacOS/wezterm-mux-server (Binary)
/Applications/WezTerm.app/Contents/MacOS/strip-ansi-escapes (Binary)
WezTerm.app/Contents/Resources/shell-completion/fish -> /opt/homebrew/share/fish/vendor_completions.d/wezterm.fish (Binary)
WezTerm.app/Contents/Resources/shell-completion/zsh -> /opt/homebrew/share/zsh/site-functions/_wezterm (Binary)
/Applications/WezTerm.app/Contents/MacOS/wezterm (Binary)
WezTerm.app/Contents/Resources/shell-completion/bash -> /opt/homebrew/etc/bash_completion.d/wezterm (Binary)
/Applications/WezTerm.app/Contents/MacOS/wezterm-gui (Binary)
==> Analytics
install: 5,136 (30 days), 14,742 (90 days), 43,272 (365 days)
インストールします。
初期設定
WezTrem の設定ファイルは ~/.config/wezterm/wezterm.lua に配置します。 インストール直後の状態では設定ファイルが存在しませんでした。 この状態で WezTerm を起動すると以下のように表示されました。
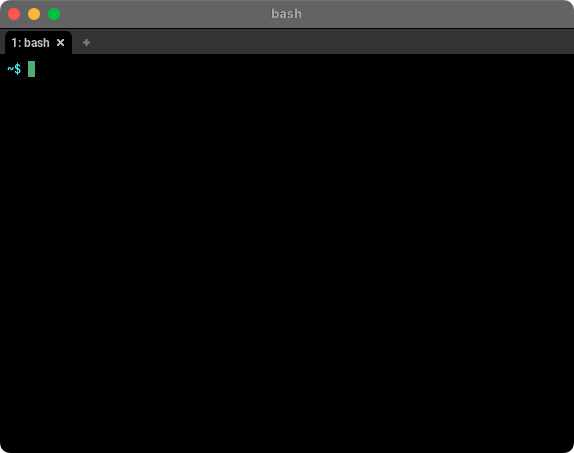
設定例は公式サイトの Configuration に記載されています。 Quick Start の例では設定ファイルサンプルとして以下が紹介されています。
-- Pull in the wezterm API
local wezterm = require 'wezterm'

-- This will hold the configuration.
local config = wezterm.config_builder()

-- This is where you actually apply your config choices

-- For example, changing the color scheme:
config.color_scheme = 'AdventureTime'

-- and finally, return the configuration to wezterm
return config
空の設定ファイルを作成し、上記の Quick Start 設定例を反映させます。
この状態で WezTerm を再起動するとカラースキームの設定 (config.color_scheme = 'AdventureTime') が反映され、見た目が変更されました。
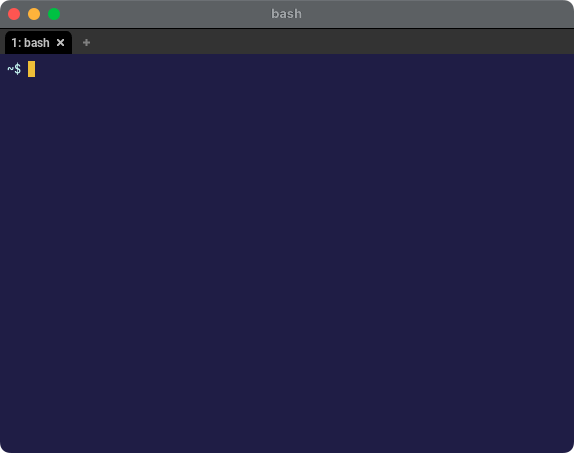
設定サンプル
macOS 用に簡単な初期設定を施したサンプルは以下です。 カラースキームは Color Schemes に掲載されています。 WezTerm と直接関係ありませんが、フォントは udev-gothic で配布されている UDEVGothic_NF_v2.0.0.zip を利用しました。
local wezterm = require 'wezterm'
local config = wezterm.config_builder()
-- This is where you actually apply your config choices

-- OS specific - Font size
function font_size()
 if wezterm.target_triple == "aarch64-apple-darwin" then
   -- macOS
   return 18
 elseif wezterm.target_triple == "x86_64-pc-windows-msvc" then
   -- Windows
   return 16
 end
  end

config.color_scheme = "Catppuccin Mocha"
config.exit_behavior = "Close"
config.font = wezterm.font("UDEV Gothic NFLG")
config.font_size = font_size()
config.window_background_opacity = 0.90
config.tab_bar_at_bottom = true
config.use_fancy_tab_bar = true
config.tab_max_width = 48

config.keys = {
    {
        key = "¥",
        action = wezterm.action.SendKey { key = '\\' }
    },
    {
        key = "¥",
        mods = "ALT",
        action = wezterm.action.SendKey { key = '¥' }
    },
    {
        key = "+",
        mods = "CMD|SHIFT",
        action = wezterm.action.IncreaseFontSize,
    },
    {
        key = "-",
        mods = "CMD|SHIFT",
        action = wezterm.action.DecreaseFontSize,
    },
    {
        key = 'k',
        mods = 'CMD',
        action = wezterm.action.ClearScrollback 'ScrollbackAndViewport',
    },
    {
        key = "w",
        mods = "CMD",
        action = wezterm.action.CloseCurrentPane { confirm = true },
    },
    {
        key = '[',
        mods = 'CMD',
        action = wezterm.action.ActivateTabRelative(-1),
    },
    {
        key = ']',
        mods = 'CMD',
        action = wezterm.action.ActivateTabRelative(1),
    },
}

return config